How to Build a Custom PC: A Step-by-Step Beginner’s Guide
How to Build a Custom PC: A Step-by-Step Beginner’s Guide
Introduction
Building your own custom PC can be a rewarding and cost-effective way to get exactly the performance and features you need—whether for gaming, work, or content creation. Unlike pre-built PCs, a custom-built system gives you full control over hardware choices, upgrades, and budget.
In this guide, we’ll walk you through everything you need to know, from selecting components to assembling and setting up your PC. Let’s get started!
1. Choosing Your PC Components
Before assembling your PC, you need to select the right components based on your needs. Here’s a breakdown of the essential parts:
🔹 1.1. Central Processing Unit (CPU) – “The Brain of Your PC”
•Handles processing tasks, gaming, and multitasking.
• Top Choices:
•AMD Ryzen 7 / Ryzen 9 (Best for gaming & content creation)
•Intel Core i7 / i9 (Best for high-performance computing)
•Tip: Check compatibility with your motherboard before purchasing.
🔹 1.2. Graphics Processing Unit (GPU) – “For Gaming & Rendering”
• Essential for gaming, video editing, and 3D rendering.
• Top Choices:
•NVIDIA GeForce RTX 4060 / 4090 (Best for gaming & AI processing)
•AMD Radeon RX 7600 / 7900 XT (Great for performance on a budget)
🔹 1.3. Motherboard – “The Foundation”
•The motherboard connects all your components.
• Factors to Consider:
•Chipset: Ensure it supports your CPU (e.g., AMD B550, Intel Z790).
•Expansion slots: For future upgrades (e.g., extra RAM, SSDs, GPUs).
🔹 1.4. RAM (Memory) – “Boosts Speed & Multitasking”
•Recommended: At least 16GB DDR4/DDR5 for gaming & productivity.
•Tip: Choose faster RAM (3200MHz or higher) for better performance.
🔹 1.5. Storage (SSD/HDD) – “Speed & Capacity”
•SSD (Solid State Drive): Faster boot and load times.
•HDD (Hard Disk Drive): More storage at a lower cost.
• Recommended Setup: 1TB NVMe SSD + 2TB HDD for the best balance.
🔹 1.6. Power Supply Unit (PSU) – “Provides Energy”
•Choose a reliable PSU (80 PLUS Bronze, Gold, or Platinum).
• Wattage Guide:
• Mid-range build: 600W – 750W
• High-end build (RTX 4090, Ryzen 9): 850W+
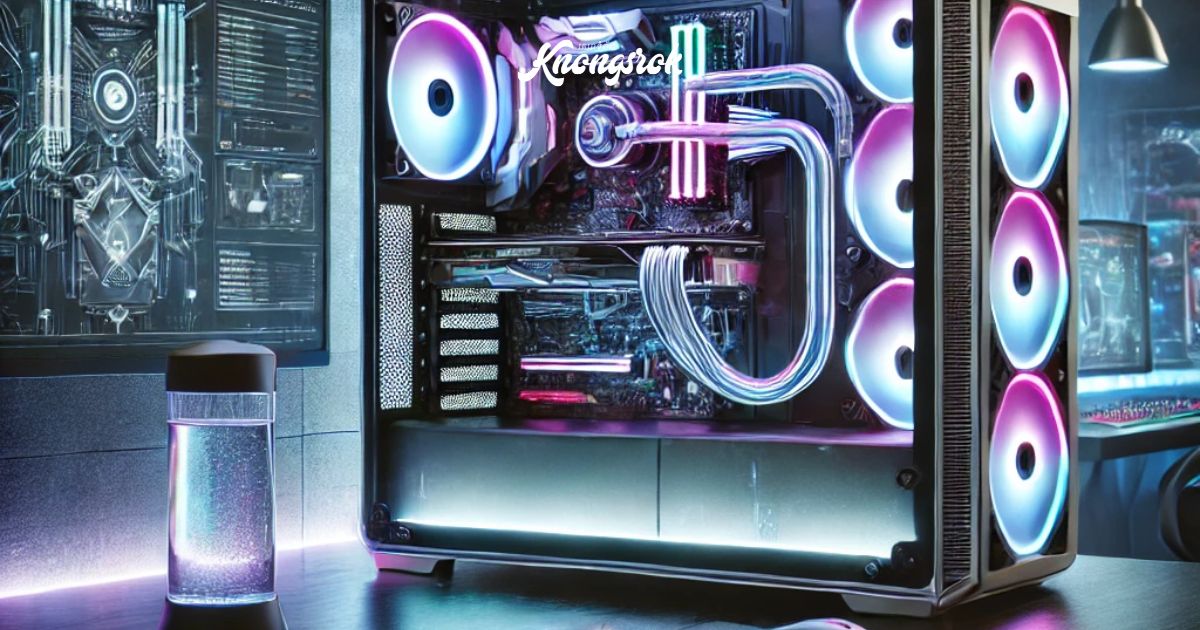
🔹 1.7. PC Case – “Holds Everything Together”
•Ensure it fits your components (ATX, Micro-ATX, Mini-ITX sizes).
•Tip: Get a case with good airflow to keep components cool.
🔹 1.8. Cooling System – “Keeps Your PC Cool”
•Air Coolers: Budget-friendly and easy to install (e.g., Noctua NH-D15).
•Liquid Coolers: Better cooling for high-performance PCs (e.g., Corsair iCUE H150i).
2. Building Your PC: Step-by-Step Assembly Guide
🛠 Step 1: Prepare Your Workspace
• Get a clean, static-free surface (avoid carpets).
•Use an anti-static wrist strap or touch a grounded metal surface.
🛠 Step 2: Install the CPU on the Motherboard
•Locate the CPU socket and match the gold triangle on the CPU to the socket marker.
•Gently place the CPU into the socket and secure it with the retention bracket.
🛠 Step 3: Install the RAM
•Find the RAM slots and push the RAM sticks into place until they click.
•Tip: Use the correct DIMM slots for dual-channel performance (check your motherboard manual).
🛠 Step 4: Install Storage (SSD/HDD)
•For NVMe SSDs: Insert into the M.2 slot on the motherboard and secure it with a screw.
•For SATA SSDs/HDDs: Connect them to the motherboard using SATA cables and mount them in the case.
🛠 Step 5: Mount the Motherboard in the Case
•Align the motherboard with the I/O shield and secure it with screws.
🛠 Step 6: Install the Power Supply (PSU)
•Mount the PSU at the bottom or top of the case and connect cables to the motherboard and components.
🛠 Step 7: Install the GPU
•Insert the GPU into the PCIe slot and secure it with screws.
• Connect power cables (6/8-pin connectors) from the PSU.
🛠 Step 8: Connect Case Fans & Cables
•Connect front panel connectors (USB, power/reset buttons) to the motherboard.
•Attach cooling fans to appropriate headers for airflow.
🛠 Step 9: Cable Management & Final Check
•Use cable ties to tidy up cables and improve airflow.
• Double-check connections before powering on.
3. First Boot & Software Installation
✅ Step 1: Power On & Enter BIOS
•Press DEL or F2 to access the BIOS.
•Ensure all components are detected correctly (CPU, RAM, Storage).
✅ Step 2: Install the Operating System (OS)
• Use a USB flash drive to install Windows or Linux.
•Download & install motherboard drivers and GPU drivers (NVIDIA/AMD).
✅ Step 3: Test Your PC
•Run benchmarks like Cinebench, 3DMark, and CrystalDiskMark to check performance.
•Monitor temperatures using HWMonitor or MSI Afterburner.
4. Tips for Optimizing Performance
🔹 Update BIOS & Drivers: Keep everything updated for stability.
🔹 Enable XMP/DOCP: Boosts RAM speed to its rated frequency.
🔹 Adjust Fan Curves: Keeps temperatures low without extra noise.
🔹 Overclocking (Optional): Slightly increase CPU/GPU performance with caution.
Final Thoughts: Build Your Dream PC!
Building a custom PC is an exciting journey that lets you customize every detail to match your needs. Whether you’re a gamer, content creator, or professional, your PC can be upgraded over time to stay powerful and efficient.
Now that you have a step-by-step guide, are you ready to build your dream PC? Let us know in the comments! 🚀
Recent News